Apps kaufen?

In der Vergangenheit habe ich relativ viele „Apps“ im Play Store gekauft. Die nützlichsten sind mittlerweile entweder kostenlos, und man kann dazu dann addons kaufen, oder freche Variante: die Version, die ich gekauft hatte wurde in eine werbefinanzierte App umgewandelt und ich dürfte mir noch einmal eine Pro-Version ohne Werbung kaufen.

Meine Lust, Geld auszugeben erhöht sich dadurch nicht wirklich. Ich fühle mich eher übers Ohr gehauen…

MAASive warning

If you’re playing with Ubuntu MAAS on your machine… be sure to disconnect any important USB drives. The installer is not very picky where it puts the base system. Did overwrite my VM USB drive.

MAAS node creation

I’m not impressed. So far, I wasn’t able to add nodes to my Ubuntu MAAS master machine. I installed my MAAS master machine being connected to my home network, which, like about 99% of home networks, has an existing, none configurable DHCP server present.

MAAS doesn’t play well if it’s not being the DHCP server of the local network. And MAAS apparently doesn’t play well, if it’s being installed on a machine that was DHCP configured by anoter DHCP server – the configuration step puts the network config in various places.

No problem – install Ubuntu Server with MAAS from an USB stick without being connected to the internet! Doesn’t effing work, since Ubuntu server 14.04 offline installation from USB stick seems to be broken.

Really, not impressed.

NUC Cluster

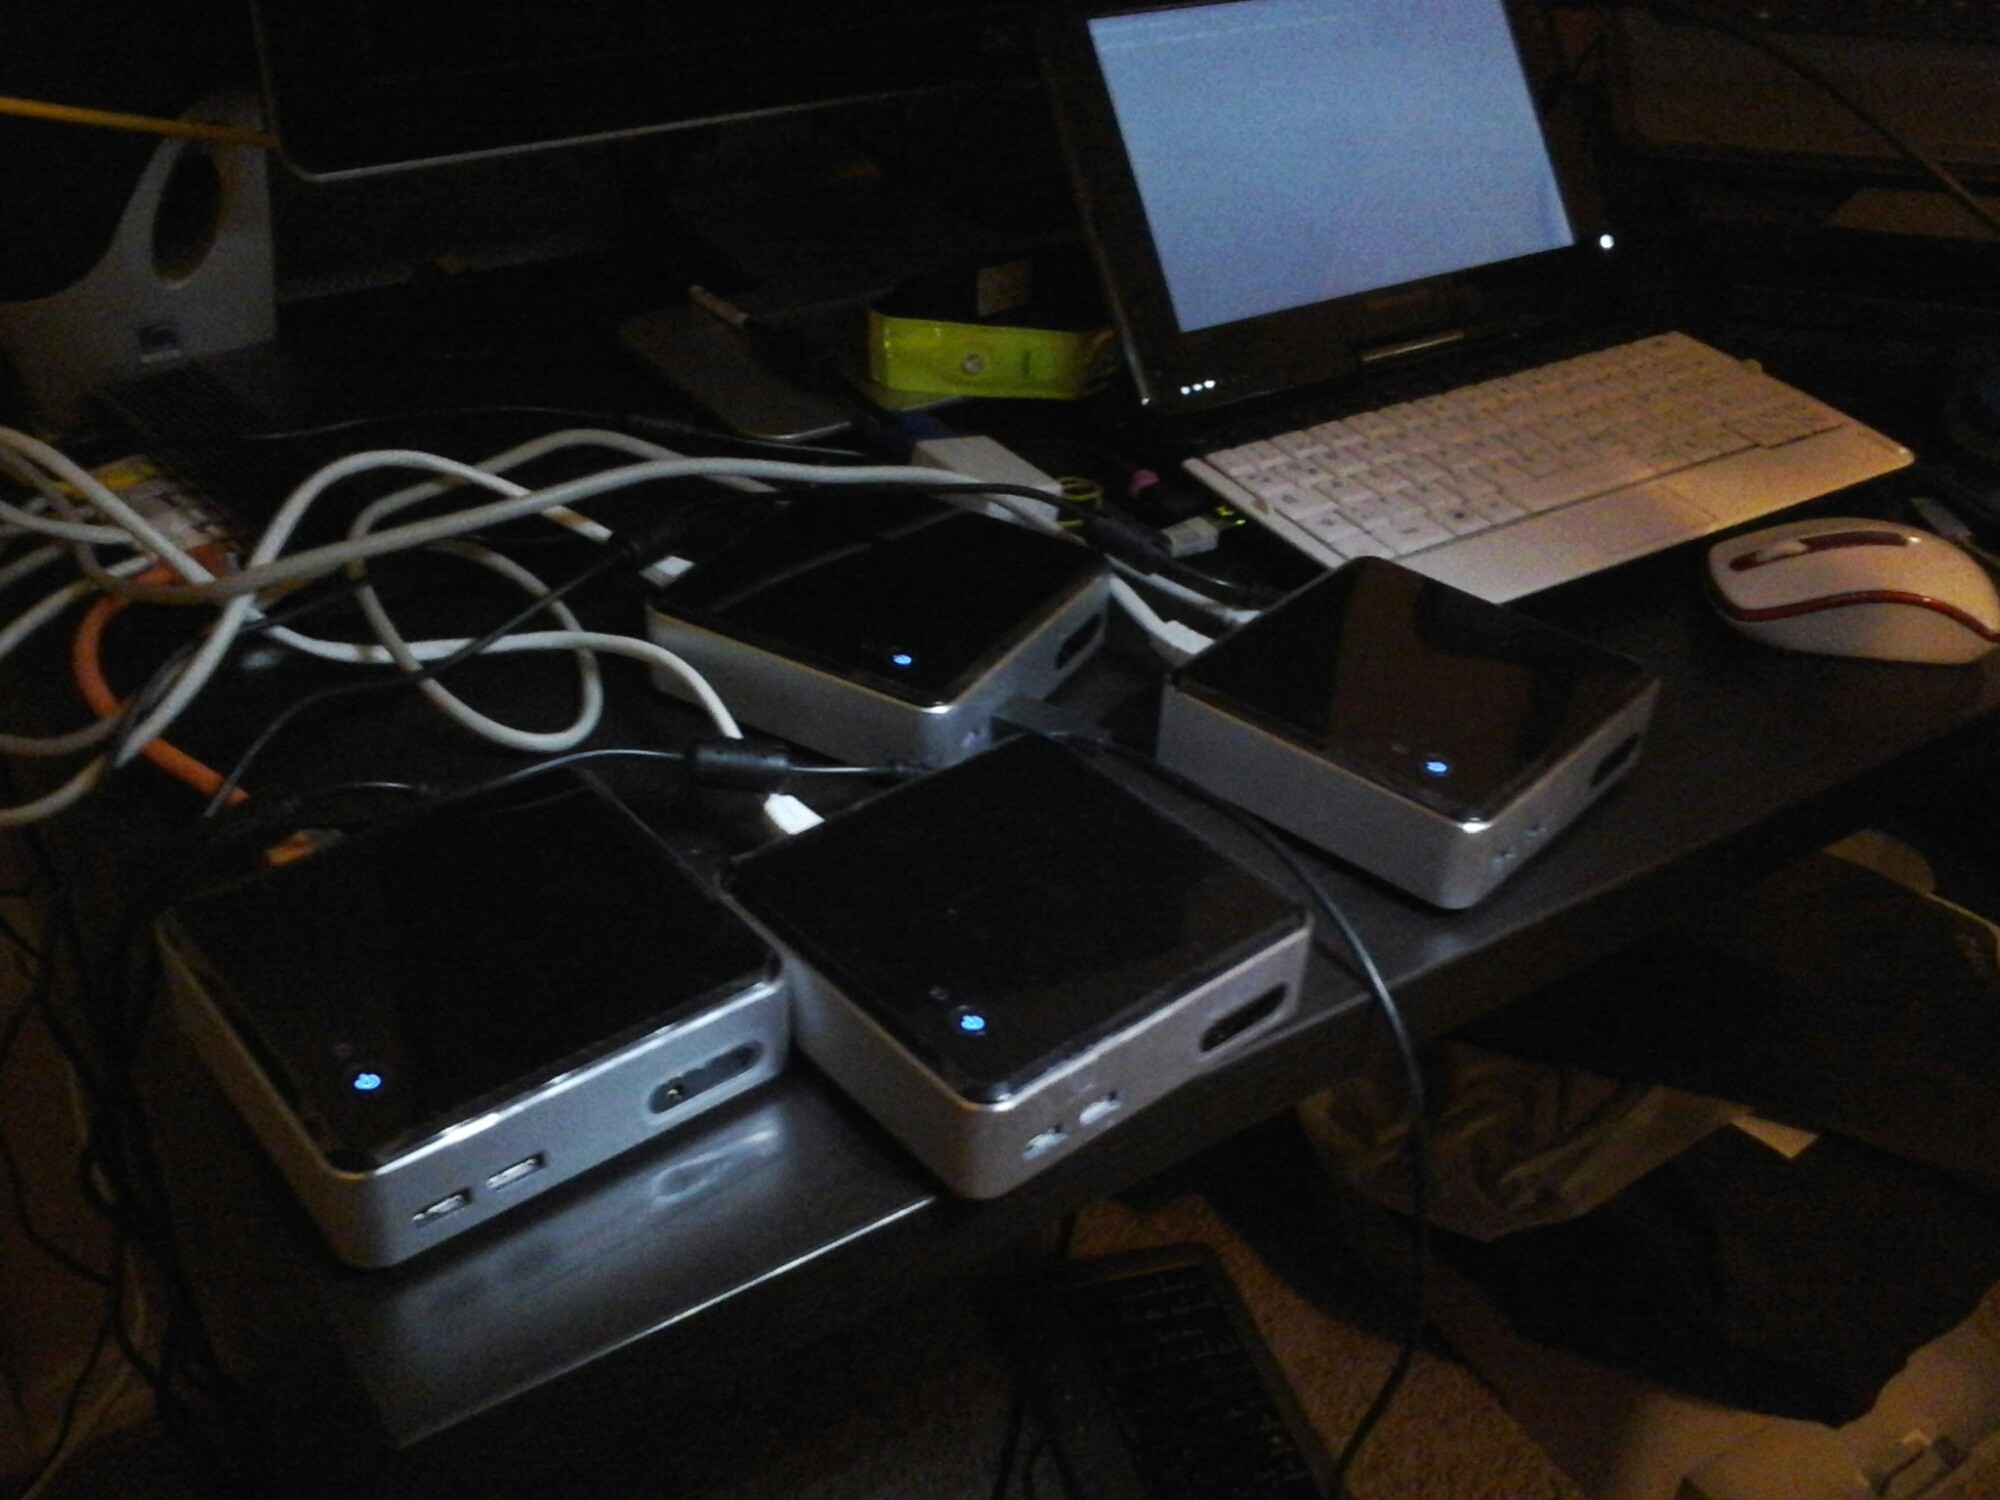
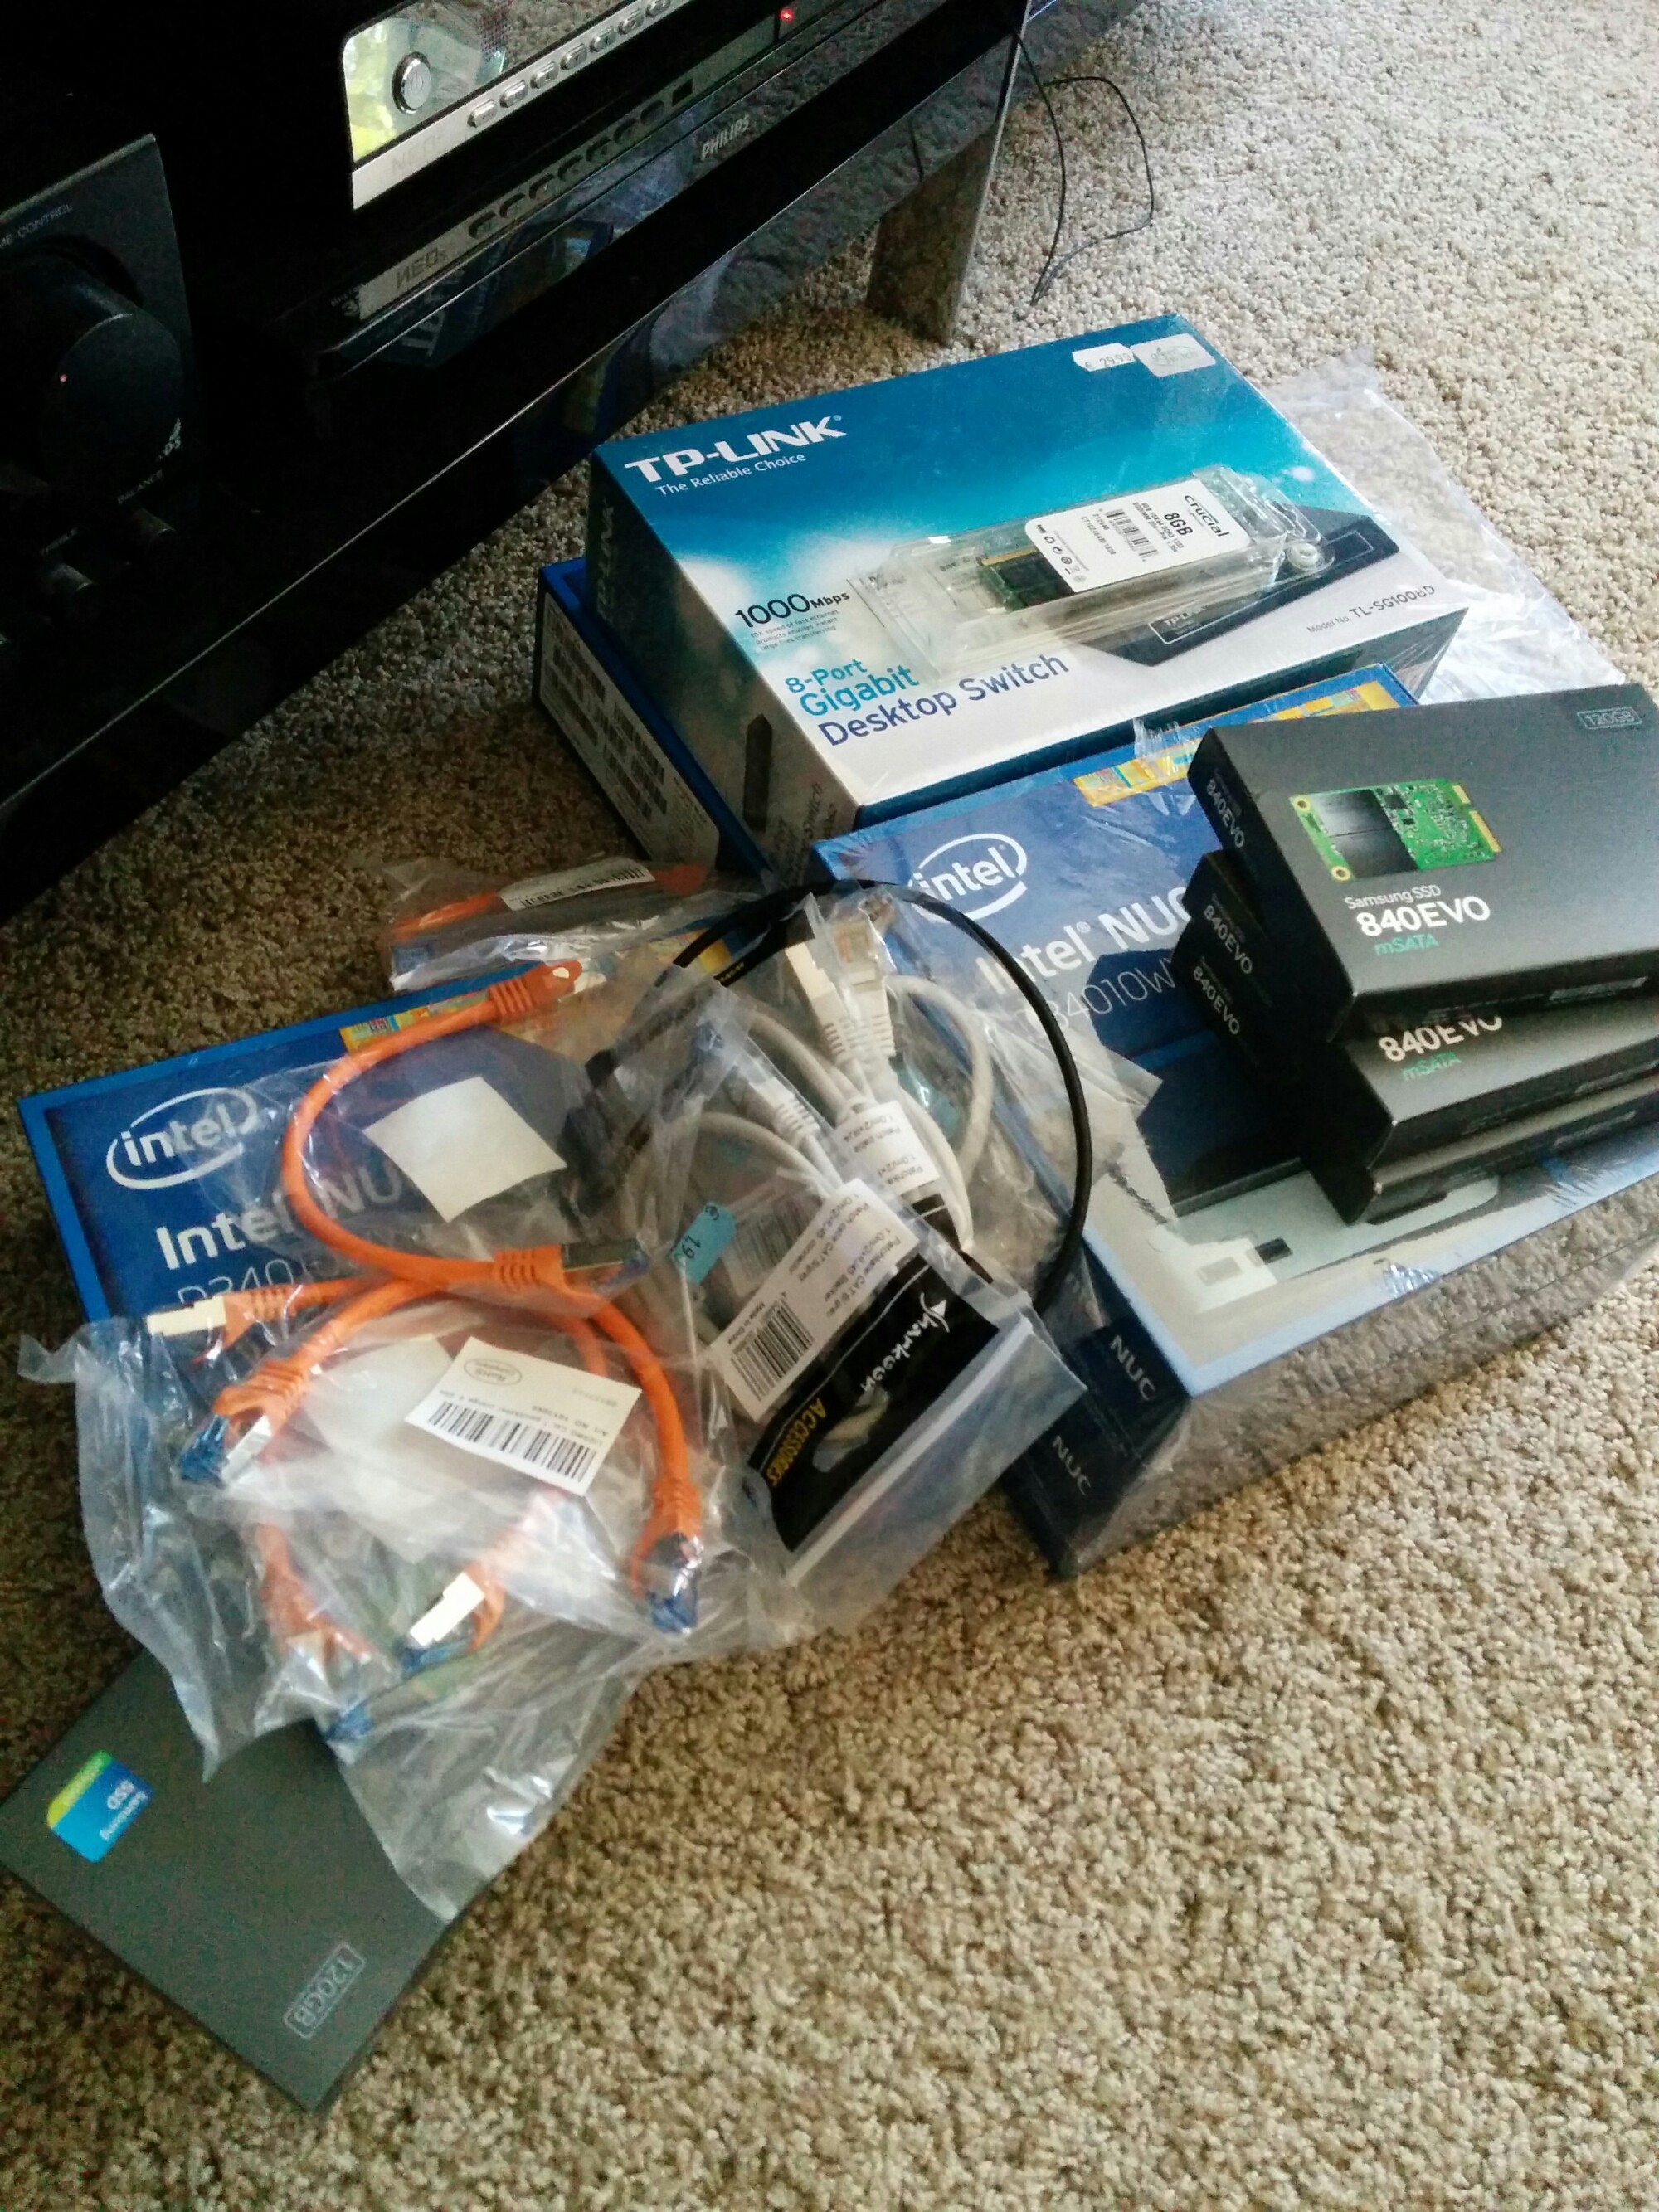
Once my RAM arrives, I will have a four node private cluster consisting of

  • 4 x Intel NUC-Kit D34010WYK
  • 4 x CT102464BF1339 (Crucial 8GB DDR3 1333 MT/s PC3-10600 / SODIMM 204pin / CL9)
  • 4 x Samsung MZ-MTE120BW mSATA SSD 120GB
  • an GB ethernet switch and some patch cables

The plan is to build that into a case – an executive briefcase – or one of those bad ass sniper rifle cases. Use cases include

  • usage distcc nodes for my embedded device experiments
  • experimenting with Ubuntu MAAS
  • building and testing a distributed/ multi node database setup
  • … whatever comes up thereafter ;-)


Victory!

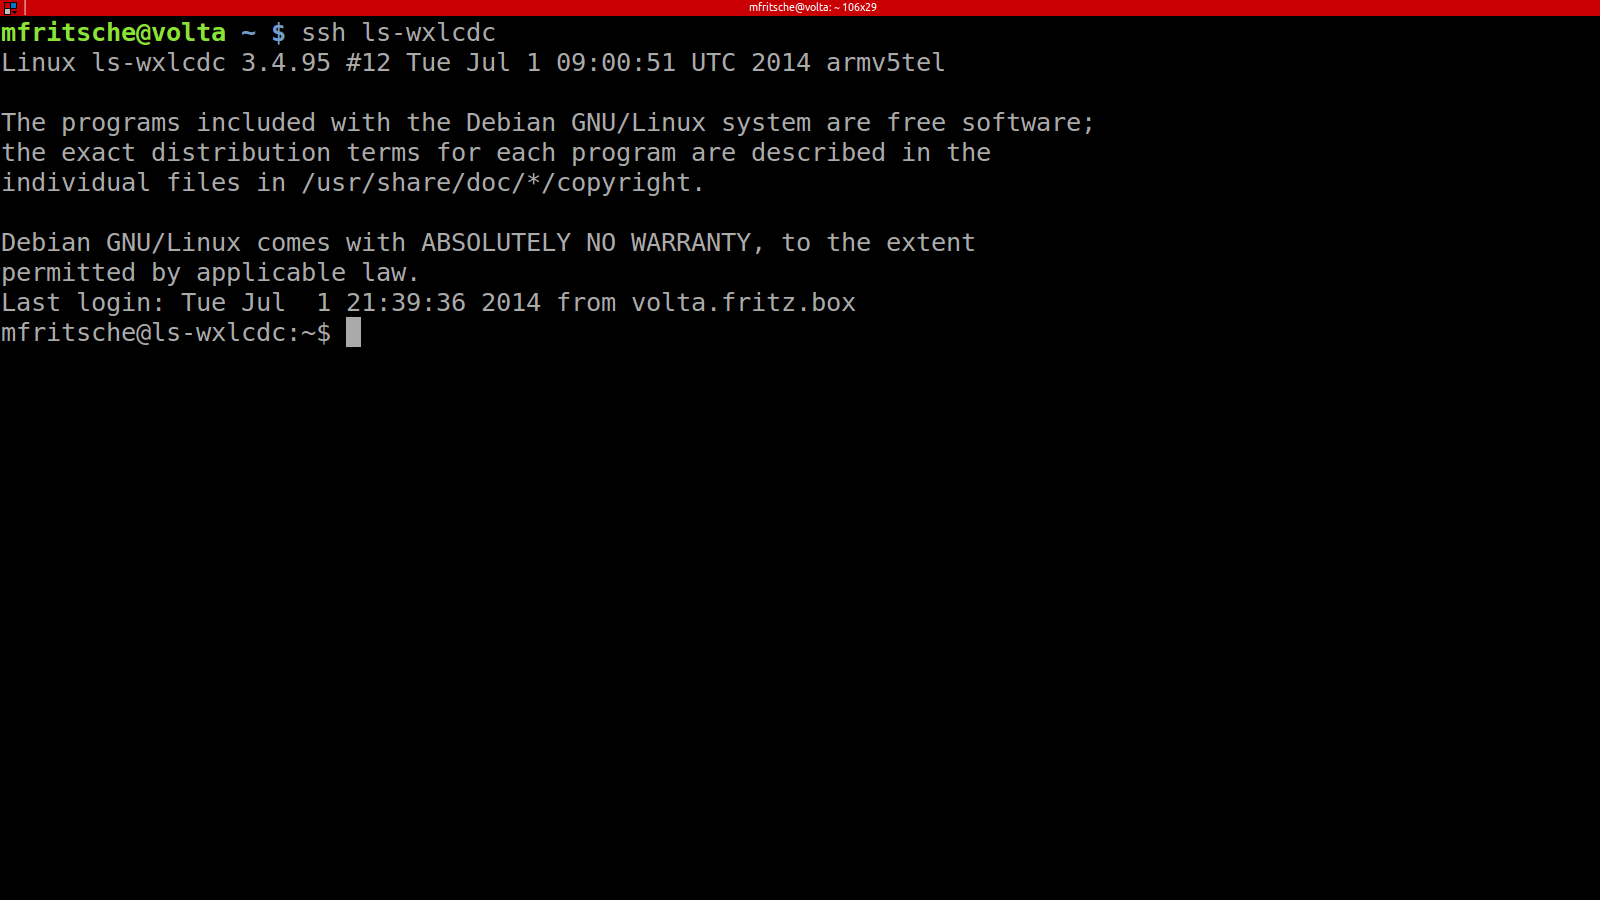
Screenshot from 2014-07-02 07:20:46I finally managed to get debian wheezy with a LTS 3.4.95 kernel (with all buffalo patches) to work on my LinkStation!

XFS doesn’t work since somewhere between the gcc-4.x / kernel code there is a bug (which does not come up in the buffalo compiled version of the kernel) but I don’t mind since I won’t use xfs anyways.

Here’s your GPL dump

One time… one single time… I’d like to have vendors post EXACTLY what version they used to base their published code on. I am trying to single out the changes from the vanilla 3.3.4 kernel to the 3.3.4 kernel made available for download by Buffalo – hard to do, when there are a gazillion changes that are not related to buffalo’s code!

Hacking LS-WXL Duo

Working on my raspberry pi, I found a way to free my LinkStation LS-WXL from it’s chains. The Buffalo firmware does a nice job if you’re using it as it’s supposed to – a windows NAS, but it’s a bit more pain when one’s using mainly linux.

I managed to hack the nas_configen script to enable the samba unix extensions, but it still lacks features that only NFS could provide.

So, how is it done? You’ll need a linux machine (I’m using Ubuntu 14.04). You will have to install qemu-user-static – it’s comparable to wine, in that it will provide a chroot environment for ARM executables.

apt-get install qemu-user-static

Next step is to create a debian bootstrap environment (be sure to choose a mirror near you):

sudo apt-get install debootstrap
sudo qemu-debootstrap --arch armel wheezy chroot-lswxlcdc-armel http://ftp2.de.debian.org/debian/
sudo mount -t proc proc chroot-lswxlcdc-armel/proc
sudo mount -t sysfs sysfs chroot-lswxlcdc-armel/sys
sudo mount -o bind /dev chroot-lswxlcdc-armel/dev
sudo mount -o bind /dev/pts chroot-lswxlcdc-armel/dev/pts

Copy your /etc/resolv.conf into the chroot etc directory.
Create a suitable /etc/apt/sources.list
Change into the new chroot and do

apt-get update && apt-get install gcc make libncurses5-dev

(and some other tools later).
Grab the buffalo kernel source from http://opensource.buffalo.jp/ls-x-165.html. Copy mv88f6281_defconfig from the linux source defconfig directory (<linux source>/arch/arm/config/mv88f6281_defconfig) to <linux source>/.config and start „make menuconfig“. Make sure to include btrfs, ext4 and nfs support (if you want it).

Build the kernel with:

make && make uImage && make modules && make modules_install

The kernel will be in arch/arm/boot/uImage, the modules in binaries/lib/modules – copy both to the linkstation (uImage.buffalo) and /lib/modules/…

Once the kernel is built and copied (you probably had to install some more tools along the way – plus I had to make links for /usr/bin/gcc to /usr/bin/arm-none-linux.gnueabi-gcc and some other tools)

ln -s /usr/bin/ar /usr/bin/arm-none-linux-gnueabi-ar
ln -s /usr/bin/gcc /usr/bin/arm-none-linux-gnueabi-gcc
ln -s /usr/bin/ld /usr/bin/arm-none-linux-gnueabi-ld
ln -s /usr/bin/nm /usr/bin/arm-none-linux-gnueabi-nm
ln -s /usr/bin/objcopy /usr/bin/arm-none-linux-gnueabi-objcopy
ln -s /usr/bin/objdump /usr/bin/arm-none-linux-gnueabi-objdump
ln -s /usr/bin/size /usr/bin/arm-none-linux-gnueabi-size

Reboot and cross your fingers!