Do. Not. Use. At this time, a LVM raid array cannot be reconstructed with a missing physical volume. That’s a 0% chance of data recovery. Which is less than BTRFS‘ 50% chance of RAID6 recovery.
Network-Manager: Wifi found, no connection
I had a problem with my Centrino-Wifi not connecting to my WLAN. Turns out, Network-Manager defaults to WPA-PERSONAL-3, which my wifi card was not capable of. Changing that to WPA-PERSONAL-2 allow the connection to be established.
Hasu USB to USB Controller Converter » 1upkeyboards
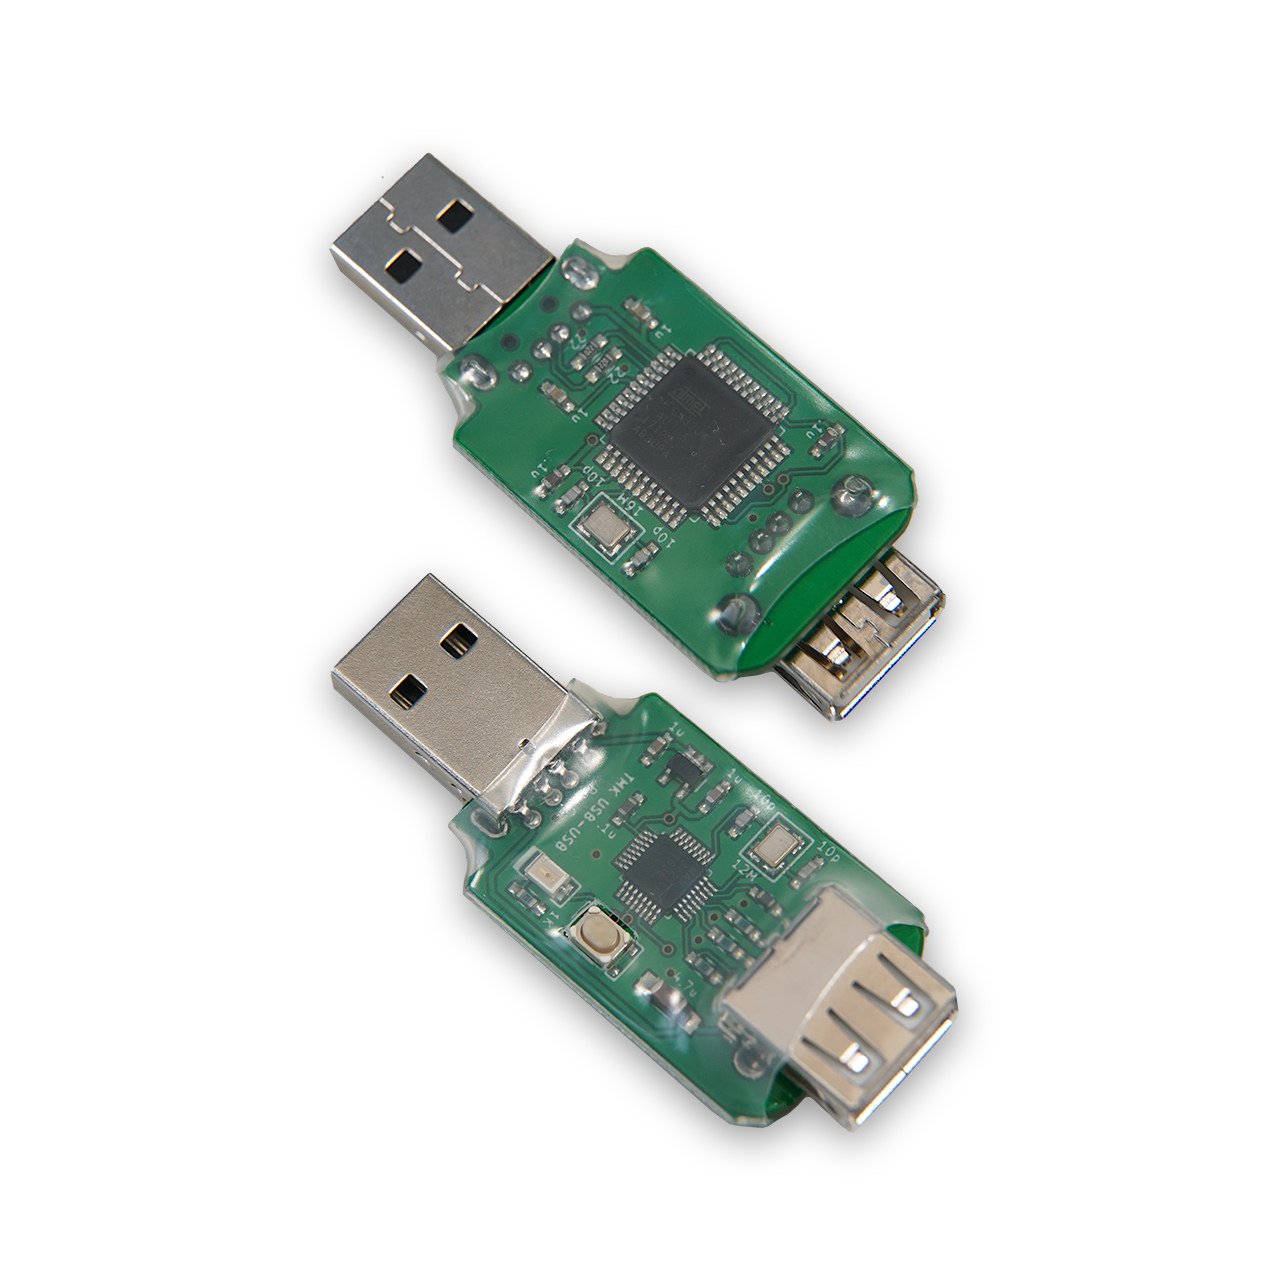
Turn almost any USB keyboard into a programmable keyboard! This converter, created by Hasu, allows you to change the keymap and add functions through TMK firmware. NO soldering required. Externally attached. Add up to 7 layers and up to 32 Fn keys. Supports 6KRO (or NKRO keyboards that will work in 6KRO mode). Media/System control keys and ‘Fn’ key are not recognized by the converter, but will still function as originally programmed on the board. Please check Hasu’s geekhack thread below for the current list of compatible and incompatible keyboards as well as additional information.
Proxy error in discover and pkcon
Finally found a solution to my problem of discover not working correctly after changing my KDE proxy settings:
sudo rm /var/lib/PackageKit/transactions.dbsudo systemctl restart packagekit.service
German characters, Linux and Windows
Just in case you haven’t noticed: I’m german, and that requires to type some german characters, like ä, ö and ü (and ß) from time to time.
One problem with that: qmk takes a keypress and translates it to a keycode to be sent to the operating system. The operating system takes the keycode and translates it to a character based on the selected keyboard layout. So, if you press „Z“ on an US keyboard, it emits keycode 52, which will be translated to the letter „Z“ using the US keycode-to-character translation map.
On a german keyboard, it gets translated to „Y“. But also, SHIFT+2 is translated to @ with the US layout, and to ‚“‚ (double quote) with the german layout.
To make things worse, these translations are not consistent across operating systems; the key combinations with „AltGr“ (the right Alt key, which is different from the left Alt key in the german layout) are not the same translations on Linux and Windows.
My solution is to use the US International layout with Windows and Linux, and to remap the keys in Linux using xmodmap:
keycode 24 = q Q q Q adiaeresis Adiaeresis at Greek_OMEGA q Q
keycode 26 = e E e E EuroSign EuroSign e E e E
keycode 29 = y Y y Y udiaeresis Udiaeresis leftarrow yen y Y
keycode 33 = p P p P odiaeresis Odiaeresis thorn THORN p P
keycode 39 = s S s S ssharp U1E9E U017F U1E9E s S
This is the bare minimum needed for the umlauts to work; still need to find the switch for Windows not to treat the double quote as dead character though.
NVRM: RmInitAdapter failed!
The last couple of days I was having trouble with my GTX 980M NVIDIA (Optimus) integrated graphics card (with neon / ubuntu). The driver nvidia would load, but refuse to work. NVIDIA settings would let me switch the graphics card, but nothing happened. dmesg / journalctl contained the following lines:
kernel: NVRM: GPU 0000:01:00.0: Failed to copy vbios to system memory. kernel: NVRM: GPU 0000:01:00.0: RmInitAdapter failed! (0x30:0xffff:663)kernel: NVRM: GPU 0000:01:00.0: rm_init_adapter failed, device minor number 0
After installing various (known to work previously) distributions, killing my bootloader in the process (yeah, thanks UEFI) I got desperate and installed Windows 10. The card showed up with a yellow exclamation mark in the device manager, stating the card couldn’t be used because it failed starting up with „Error 43“.
Some googling suggested to try the card in another motherboard, but I was afraid that would have been a bit much for an integrated graphics card. After some more googling, I tried to use „nvflash64“ – first with the wrong bios (fortunately, nvflash refused to flash the wrong image and yielded the ID I needed to search for the right one). I found the vbios file at techpowerup. Flashed the right file and… The exclamation mark was gone! Subsequently, when I restored my linux partition (an adventure of its own, due to my stupidity), NVIDIA Settings is working again! Yay!
Webcam, Linux, cheese, vlc, skype…
During the recent home office wave, I wanted to reactivate my webcam (Logitech Quickcam Chat, yes, it only has 176x144px but that’s fine for my use case). Of course, my laptop has an integrated webcam, but that’s about 75cm above and to the right of me – I’m having a „broker-type“ desk setup.
Problem is, the webcam is not recognized by Skype for Business (using the Citrix HDX RT Media Engine), cheese or Microsoft Teams for Linux.
I found the reason – those programs only support YUY2 color formats, while the webcam (and other solutions, like droidcam) supply other formats. Solution:
- Install v4l2loopback from git
- Create a loopback video device by loading the module
- Start a gstreamer pipline to convert the color space
For my quickcam chat, it looks like this:
gst-launch-1.0 -v v4l2src device=/dev/video2 ! video/x-bayer ! bayer2rgb ! videobalance saturation=0.8 ! videoconvert ! video/x-raw,format=YUY2 ! v4l2sink device=/dev/video4
/dev/video2 being the device of the webcam, /dev/video4 being the loopback device created earlier by loading the loopback module.
The loopback module has to be started with more than default buffers:
sudo modprobe v4l2loopback max_buffers=16
An example for droidcam (droidcam being /dev/video3):
gst-launch-1.0 -v v4l2src device=/dev/video3 ! smooth ! videoconvert ! video/x-raw,format=YUY2 ! v4l2sink device=/dev/video4
Pinebook Pro kernel compilation
I am a new, proud owner of a Pinebook Pro. The default OS (Debian stretch) comes with a kernel 4.4.190 (updates to 4.4.196). As there is no IO accounting support in the original kernel, also no btrfs support, I set out to compile a custom kernel on the pinebook pro plus booting it safely.
You will need:
- a Pinebook Pro
- an SD Card (at least 8GB)
- patience
DISCLAIMER
These instructions are potentially able to brick your device. There are (somewhat painful) ways to get back from a bricked Pinebook Pro (using the RockChip Flash Tool or the UART console). So, if you never compiled a kernel and actually gotten to start it, you might want to refrain from following this guide.
Setting up the SD card
First, I acquired the original Debian image here: https://github.com/mrfixit2001/debian_desktop/releases/download/190905/pinebookpro-debian-desktop-mrfixit-190905.img.xz.
This needs to be decompressed and „flashed“ to your SD card (careful!). Be sure to use the right device, otherwise you might end up bricking your Pinebook Pro…
xz -d pinebookpro-debian-desktop-mrfixit-190905.img.xz
sudo dd if=pinebookpro-debian-desktop-mrfixit-190905.img of=/dev/mmcblk0sync
Eject and insert the SD card.
sudo mount /dev/mmcblk0p1 /mnt/nano /mnt/extlinux/extlinux.conf
Make sure it says root=/dev/mmcblk1p2
in line #8 – this will load the kernel from SD, but set the root to your EMMC (interal) drive.
Reboot and make sure your device boots up normally. If you already did the update before, you will see that your kernel version now („uname -a“) should be 4.4.190 instead of the updated 4.4.196 on your internal drive.
Setting up the build environment
For this, we will use Debian „Buster“ on your pinebook pro. How? By using snap & lxd!
sudo apt install snapdsudo snap install lxdsudo /snap/bin/lxd init
Accept all defaults BUT for the storage pool – set up a new pool with storage backend „dir“.
Once that’s done, set up a new Debian Buster container:
sudo /snap/bin/lxc launch images:debian/buster myvm
Depending on your internet connection, this takes a while. Once that’s done, we’re ready to use the container:
sudo /snap/bin/lxc exec myvm /bin/bash
Now you’re in a shell in your container. First, you want to install some packages:
apt-get install crossbuild-essential-arm64 libncurses-dev git bc ccache nano
The kernel is an aarch64-kernel, the system is armhf however – that’s why we’re installing a cross compiler (credits). Edit your ~/.bashrc and add
export PATH="/usr/lib/ccache:$PATH"
At the bottom, then do
. ~/.bashrc
That should speed up compilation dramatically.
Use the source!
Make a new directory for your linux kernel, i.e. mkdir ~/src. Change to that directory cd ~/src and download the kernel sources of your choice, i.e. git clone https://github.com/mrfixit2001/rockchip-kernel.git linux
Copy the existing kernel configuration to your source tree:
zcat /proc/config.gz ~/src/linux/.config
cd ~/src/linux/
make oldconfig
Almost set to go!
make menuconfig
Do your changes, save… now, compile the kernel:
make ARCH=arm64 CROSS_COMPILE=aarch64-linux-gnu- -j 6 bindeb-pkg
And the device tree afterwards:
make ARCH=arm64 CROSS_COMPILE=aarch64-linux-gnu- -j 6 rockchip/rk3399-pinebookpro.dtb
Log off from your container by using CTRL-D (or the method of your liking). The kernel is now in (with my names):
/var/snap/lxd/common/lxd/containers/myvm/rootfs/root/src
We’re going to install this and move it carefully. Make sure /boot/ isn’t mounted:
sudo umount /bootsudo mount /dev/mmcblk0p1 /mnt/sudo dpkg -i --force-architecture /var/snap/lxd/common/lxd/containers/myvm/rootfs/root/src/linux-image-4.4.196-gb9a54c00f_4.4.196-gb9a54c00f_arm64.deb
(or whatever .deb you just created).
cp /mnt/rk3399-pinebookpro.dtb /mnt/rk3399-pinebookpro.dtb.bak
cp /var/snap/lxd/common/lxd/containers/myvm/rootfs/root/src/linux/arch/arm64/boot/dts/rockchip/rk3399-pinebookpro.dtb /mnt/
Copy the kernel to SD card:
cp /boot/vmlinuz-4.4.196-gb9a54c00f /mnt/Image
Done! Reboot…
Yes, I know that there are LXD Api functions to work with container files, and working as root is not advised. But for the time being, it „works for me™“.
Schatzkiste
„Wir haben ein etwas gestörtes Verhältnis zum unbeschwerten Lachen, weil man unsinnigerweise glaubt, wo gelacht wird, fehle das kulturelle Niveau.“ – Georg Thomalla
Butterfly Keyboard
How long does it take before the first key on an Apple Buterfly Keyboard (MacBook Air 2018) is stuck? In my case six months and five days (186 days). I really, really am careful about dust on my MacBook, but my arrow-down-key is stuck now.